If you are like many Immerspa customers, the challenges of the last two years have made you think about your home and surroundings differently. With travel reduced, and options for entertainment greatly limited, your home and yard have taken on even greater importance.
Especially with more and more of us also using our homes as offices, the importance of being able to create spaces purely for enjoyment and private time has grown.
That is where the professionals at Immerspa can help!
We’ll give you the options you need to convert your backyard into a five-star vacation paradise.
For many people, the thought of purchasing an inground spa is clouded by fears of a difficult installation process. What they find is refreshingly different: when you purchase an Immerspa product, installation is a simple, straightforward process. Whether you choose to do the work yourself, or utilize one of our recommended installers, getting your inground spa into place and up and running is not complicated, and can be done in a matter of a few days.
If you choose to go the contractor route, then all you have to do is have the proper location in your yard picked out, sit back and watch the pros do their work. An ice tea (or something stronger) and a lawn chair might be all the tools you need.
However, many Immerspa owners choose to do the work themselves, and with the help of the instructions on our website, DIY is a great way to go.
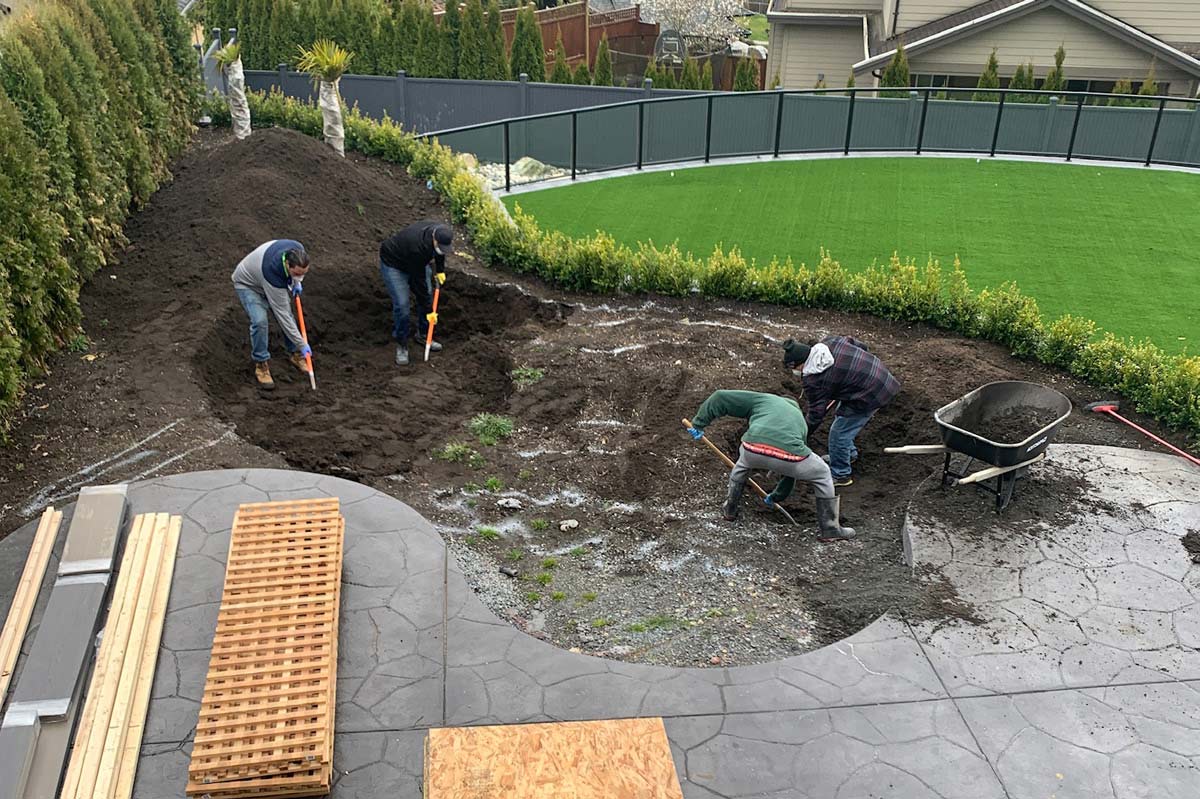
The first step is to excavate the area. This can be done with small earth-moving machinery, or by hand — depending on the manpower you have available, and the timeline you are working with. The hole that is dug needs to be 8”–12” wider than the footprint of the spa and a minimum of 41” from the desired top of the inground spa. You need to account for any finishes to the edges, such as coping.
After the hole is dug, you prepare it by installing filter cloth and weeping tiles around the outer edges. These materials are available from any landscaping retailer, several online sources, and even big-box home improvement stores.
After this, you prepare a base for the inground spa by filling the bottom of the hole with a six-inch (minimum) layer of ¾” clear stone. This ensures that any water that splashes from the spa, as well as precipitation will drain properly without eroding the spa site.
Next, lower the inground spa into the prepared hole, checking to make sure it is at the desired height and is level. Connect the hoses to the pump and connect the electricity. It is important to make sure that the spa is level and properly supported by the underlying stone, to avoid gaps in support. Make certain that all pump and electrical connections are tight, and protected from the elements, also.
After checking all connections, fill the tub about 1/3 full with water to stabilize it and prepare it for backfilling.
With the tub stabilized in its place, backfill the excavated area with ¾” clear stone. Once the backfill is complete, you can fill the inground spa to about 2”–3” of the top with water.
Once the water comes up to the desired temperature, you are ready to enjoy your new spa. Of course, you also may want to add landscaping touches, aesthetic elements, or even a privacy fence to fully enjoy your new backyard oasis.
The process of installing an inground spa is simple, and the team at Immerspa is ready to help you through the steps with advice and helpful tips. With cold weather approaching, there is no time to lose — so call us today to turn your backyard into a luxurious staycation getaway!


 No products in the cart.